

Hey there! As a supplier of cold room air coolers, I often get asked about how to install these coolers on a sloping ceiling. It might sound a bit tricky at first, but with the right steps and a bit of know - how, you can get it done without too much hassle.
Why Install on a Sloping Ceiling?
First off, you might be wondering why anyone would want to install a cold room air cooler on a sloping ceiling. Well, in some buildings, especially older ones or those with unique architectural designs, the ceiling isn't flat. Installing on a sloping ceiling can actually make better use of the available space. It can also help with the distribution of cold air in the room, as the cooler can be positioned in a way that takes advantage of the natural airflow patterns created by the slope.

Tools and Materials You'll Need
Before you start the installation process, you'll need to gather a few tools and materials. Here's a list of what you'll typically need:
- A drill and appropriate drill bits
- Screwdrivers (both flat - head and Phillips - head)
- Measuring tape
- Level
- Mounting brackets
- Safety goggles and gloves
- Your cold room air cooler, of course!
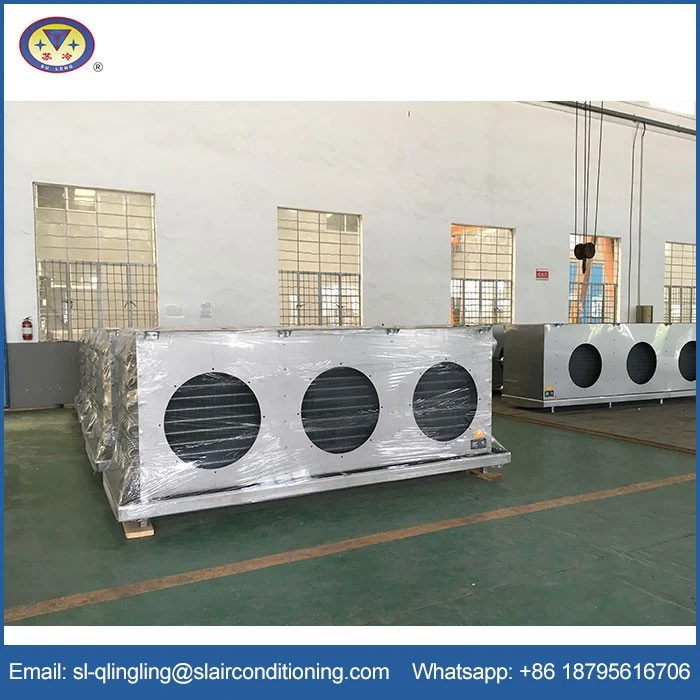
We offer a variety of air coolers that are suitable for different applications. For example, if you're looking for a Vertical Type Blast Freezing Air Cooler, it's designed to quickly lower the temperature in the cold room. Or if you need a Quick Freezing Air Cooler, it can rapidly freeze your products. And our Room Cooling Unit is great for general room cooling.
Step - by - Step Installation Guide
Step 1: Plan the Installation
The first step is to plan where you're going to install the air cooler. Use a measuring tape to determine the best location on the sloping ceiling. You want to make sure it's centered in the room as much as possible and that there's enough clearance around it for proper air circulation. Also, check for any electrical outlets or plumbing that might be in the way.
Step 2: Mark the Mounting Points
Once you've decided on the location, use a pencil to mark the spots where you'll be installing the mounting brackets. Make sure to use a level to ensure that the marks are straight, even on the sloping ceiling. This will help the air cooler sit properly once it's installed.
Step 3: Drill the Holes
Put on your safety goggles and gloves, and then use a drill to create holes at the marked points. The size of the drill bit will depend on the type of mounting brackets you're using. Be careful not to drill too deep, as you don't want to damage any wiring or pipes behind the ceiling.
Step 4: Install the Mounting Brackets
Insert the mounting brackets into the drilled holes and use screws to secure them in place. Make sure they're tightly fastened so that they can support the weight of the air cooler. Double - check with the level to ensure that the brackets are level on the sloping surface.
Step 5: Lift and Attach the Air Cooler
This is the tricky part. You'll need at least one other person to help you lift the air cooler up to the mounting brackets. Carefully align the air cooler with the brackets and then use the provided hardware to attach it securely. Make sure all the connections are tight and that the air cooler is stable.
Step 6: Connect the Electrical and Refrigerant Lines
Once the air cooler is attached, it's time to connect the electrical and refrigerant lines. Follow the manufacturer's instructions carefully when making these connections. If you're not confident in doing this yourself, it's best to hire a professional technician.
Step 7: Test the Air Cooler
After all the connections are made, turn on the power and test the air cooler. Check for any leaks in the refrigerant lines and make sure the air is flowing properly. Listen for any unusual noises, which could indicate a problem.
Tips and Tricks
- When working on a sloping ceiling, it can be helpful to use a ladder with a stable base. You might also want to consider using a safety harness for added protection.
- If the slope of the ceiling is very steep, you may need to use special mounting brackets that are designed for sloping surfaces.
- Before starting the installation, make sure you have all the necessary tools and materials within reach. This will save you time and frustration.
Common Mistakes to Avoid
- Not measuring accurately: A small measurement error can lead to a misaligned air cooler, which can affect its performance.
- Skipping the level check: If the air cooler isn't level, it can cause uneven air distribution and put extra stress on the mounting brackets.
- Over - tightening or under - tightening the screws: Over - tightening can damage the brackets or the air cooler, while under - tightening can lead to a loose installation.
Conclusion
Installing a cold room air cooler on a sloping ceiling might seem like a daunting task, but if you follow these steps and take your time, you can do it successfully. As a supplier, we're here to help you every step of the way. Whether you have questions about the installation process or need help choosing the right air cooler for your needs, feel free to reach out to us. We're always happy to assist with your cold room cooling requirements. If you're interested in purchasing any of our products, such as the Vertical Type Blast Freezing Air Cooler, Quick Freezing Air Cooler, or Room Cooling Unit, don't hesitate to contact us for a detailed discussion and procurement negotiation.
References
- Manufacturer's installation manuals for cold room air coolers
- General construction and installation guides for working on sloped surfaces


